Spring Gnome 3D Shadow Box Paper Cut: A Beautiful and Versatile Crafting Project
Hello, crafters! If you're looking for a creative and rewarding DIY project that combines artistry with functionality, the Spring Gnome 3D Shadow Box Paper Cut is an excellent choice. This layered paper-cut design brings a whimsical touch to any space while offering a satisfying crafting experience. Whether you're into paper crafts, shadow boxes, or light box projects, this template delivers both aesthetic appeal and practical versatility.
What Is a Spring Gnome 3D Shadow Box Paper Cut?
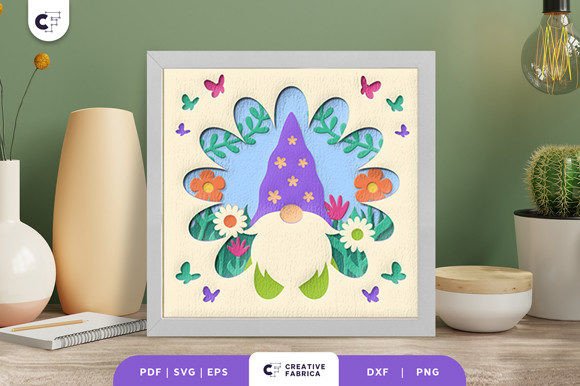
The Spring Gnome 3D Shadow Box Paper Cut is a pre-designed, layered paper cutout that forms a three-dimensional representation of a spring gnome when assembled. It's crafted as a square silhouette measuring 20.32 x 20.32 cm, making it ideal for wall decor or framed displays. The design features multiple intricate layers that create depth and visual interest when stacked correctly.
This template is available in several digital formats including SVG, PDF, EPS, PNG, and DXF, ensuring compatibility with various cutting tools like Silhouette machines, Cricut devices, and even traditional scissors and knives. With ten carefully designed layers, the final product is a stunning piece of papercraft that can be customized to suit your personal style or gift-giving needs.
Why Choose the Spring Gnome Design?
Spring-themed decor has a special charm that signals renewal, joy, and the arrival of warmer days. The gnome motif adds a playful yet elegant twist, appealing to those who love cottagecore aesthetics, nature-inspired themes, or simply enjoy adding character to their homes. The Spring Gnome 3D Shadow Box Paper Cut allows you to bring these elements together in one cohesive project.
For many crafters, the challenge lies in finding a design that’s both visually appealing and easy to assemble. This template eliminates much of the guesswork by providing clear instructions and well-structured layers. You won’t need advanced skills to complete it—just patience, precision, and a bit of creativity.
Who Can Benefit from This Craft?
This paper cutout project is perfect for a variety of users:
- Beginners looking to try their hand at layered paper crafts without feeling overwhelmed.
- Experienced crafters wanting to expand their portfolio with a seasonal theme.
- Teachers and educators seeking engaging classroom activities that promote fine motor skills and attention to detail.
- Gift-makers searching for unique, handmade items that stand out from store-bought alternatives.
- Home decorators aiming to add a personalized touch to their living spaces using minimal materials.
How to Use the Spring Gnome 3D Shadow Box Paper Cut
Creating your own Spring Gnome 3D Shadow Box Paper Cut involves just a few essential steps. First, choose your preferred format (SVG, PDF, etc.) and load it onto your cutting machine or print it for manual cutting. Each layer is designed to fit seamlessly with the others, so accuracy during cutting is key to a polished final look.
Once all layers are cut, you’ll need to stack them in order and secure each one with glue or double-sided tape. The result is a dimensional piece that captures the essence of spring in a charming and artistic way.
For added flair, consider turning your creation into a light box. Simply place small LED strips between the layers to illuminate the shadows and highlights created by the cutouts. This technique not only enhances the visual impact but also makes the design glow softly, creating a warm ambiance in any room.
Practical Applications and Outcomes
The Spring Gnome 3D Shadow Box Paper Cut offers numerous applications beyond basic wall art:
- Framed Wall Decor: Once assembled, you can frame the design and hang it on a wall. It works beautifully in nurseries, bedrooms, or living rooms.
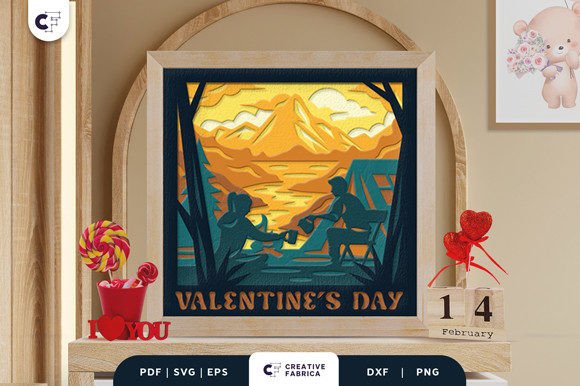
- Seasonal Centerpiece: Place the shadow box on a shelf or mantel to celebrate springtime and add a decorative focal point to your space.
- Personalized Gift: Handmade gifts always feel more thoughtful. Presenting a custom-made Spring Gnome Shadow Box to friends, family, or loved ones can be a meaningful gesture.
- Light Box Art: By embedding LED strips, you can transform the shadow box into a glowing decoration. This is especially popular for cozy reading nooks or as ambient lighting in offices.
- Craft Fair or Etsy Product: Skilled crafters can use this template to produce multiples of the design and sell them as ready-to-assemble kits or finished pieces.
Materials and Tips for Success
To get the best results, use high-quality cardstock such as Encore Cardstock 80 lb cover (216 gsm), which provides durability and crisp lines. While the design is already sized appropriately, keep in mind that SVG files can be resized as long as you maintain the original aspect ratio to preserve the proportions of the gnome.
If you don’t have access to a cutting machine, don’t worry. The design is user-friendly enough to be completed manually with a good pair of scissors and a sharp art knife. Here are some tips to ensure success:
- Use a cutting mat to protect your workspace and help guide your cuts.
- Work in a well-lit area to see the details clearly.
- Assemble the layers slowly to avoid misalignment.
- Consider using different colored papers for each layer to enhance the visual effect.
Customization Ideas for the Spring Gnome Shadow Box
One of the joys of working with layered paper cuts is the ability to customize the design. Here are a few ideas to make your Spring Gnome 3D Shadow Box Paper Cut truly unique:
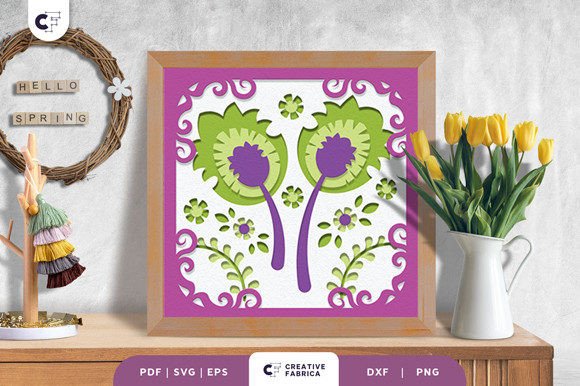
- Color Variations: Use pastel shades like mint green, soft pink, and butter yellow to match your spring decor. Alternatively, go bold with bright colors for a vibrant statement piece.
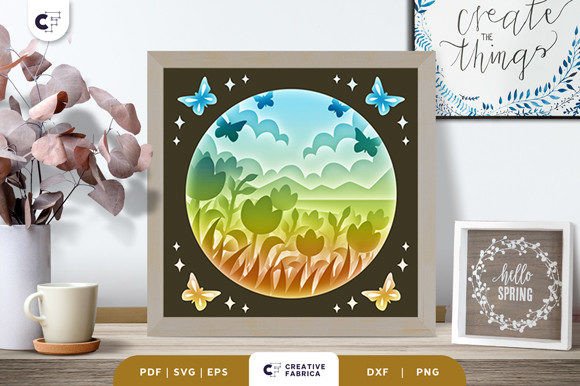
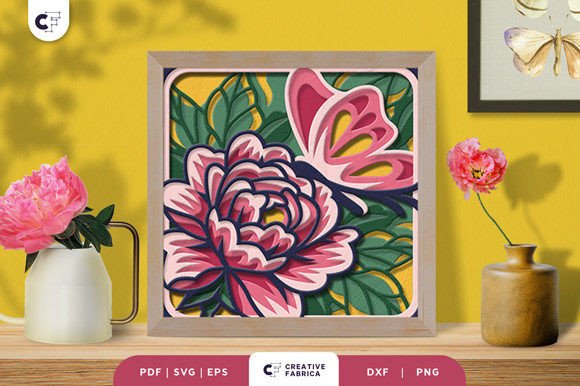
- Thematic Additions: Incorporate other spring motifs such as flowers, butterflies, or eggs around the gnome to build a full seasonal scene.
- Material Mix: For a mixed-media approach, combine paper with felt or foam accents to add texture and dimensionality.
- Textured Surfaces: Experiment with patterned or metallic paper to give your shadow box a luxurious finish.
Common Challenges and How to Overcome Them
While the Spring Gnome 3D Shadow Box Paper Cut is designed to be user-friendly, there are a few common hurdles crafters may encounter:
- Precision Cutting: Small, detailed cuts require careful handling. Using a fine-point blade and steady hands can make all the difference.
- Layer Alignment: Misaligned layers can disrupt the 3D effect. To avoid this, use alignment guides or pins while gluing the pieces together.
- Glue Drying Time: Allow adequate time for glue to dry before moving or displaying your work. Rushing the process can lead to warping or shifting.
- Choosing Colors: Deciding on the right color palette can be tough. Start with a base color and build from there, selecting complementary hues for each layer.
With a little practice and attention to detail, these challenges become part of the fun and learning process. Plus, overcoming them gives you a sense of accomplishment when your finished piece looks just as beautiful as you envisioned.
Where to Buy Materials and Supplies
Although the template itself is digital, you'll need physical materials to complete the project. The recommended Encore Cardstock 80 lb cover 216 gsm is widely available online and in craft stores. Click here to visit the 12×12 Cardstock Shop for a wide selection of quality cardstock options. This is a paid link, but it ensures you’re getting the right materials without extra cost to you.
If you plan to turn your shadow box into a light box, you’ll also need LED strips, a power source, and possibly a dimmer switch for adjustable brightness. These can typically be found at electronics retailers or online marketplaces.
Final Thoughts on the Spring Gnome 3D Shadow Box Paper Cut
The Spring Gnome 3D Shadow Box Paper Cut is more than just a craft—it’s a celebration of creativity, seasonality, and personal expression. Whether you're assembling it for yourself or giving it as a gift, this project offers endless opportunities for customization and enjoyment. Its combination of simplicity and elegance makes it accessible to crafters of all skill levels while still delivering a professional-looking result.
By investing a little time and effort, you can transform ordinary paper into something magical. So why not give it a try this spring? Your home—and your guests—will thank you for the fresh, handmade touch.